I’ll tell you what — the first time I ever packed a bowl, I crammed that thing so tight you’d have thought I was trying to compress coal into a diamond. Pulled so hard I nearly turned inside out, got a face full of harsh smoke, and wondered what in the world all the fuss was about. It took a few more sessions, a patient friend with a well-worn spoon pipe, and honestly some trial and error before it clicked. The whole art of packing a bowl is deceptively simple on the surface, but there’s a real craft underneath it that separates a smooth, even burn from a frustrating, wasteful mess. Whether you’re loading up a classic hand pipe on the back porch after a long week or filling a bong bowl before a lazy Sunday afternoon, the fundamentals are the same — and once you get them down, every session improves dramatically. This guide is going to walk you through everything: grind consistency, packing density, the Goldilocks principle that experienced smokers swear by, and the most common mistakes that beginners make every single day. Consider this your complete foundation, and if you want to go deeper on the broader world of consumption methods, our complete smoking methods guide covers everything from joints to dabs in serious detail.
- Why Packing Technique Actually Matters More Than You Think
- Step One: The Grind — Your Foundation for Everything
- The Goldilocks Principle: Understanding Packing Density
- The Layering Method: How to Actually Load the Bowl
- Packing Tools: Fingers, Lighters, and Specialized Gear
- Packing a Bong Bowl vs. a Hand Pipe: Key Differences
- The Art of Cornering: Making Your Bowl Last
- Common Mistakes and How to Fix Them Right Now
- Packing for Different Sessions: Quick Hits vs. Extended Hangs
Why Packing Technique Actually Matters More Than You Think
Packing technique is the single most controllable variable in your smoking experience, and most people never give it a second thought. The way your herb sits in that bowl determines airflow, burn rate, flavor quality, and how much of your material actually gets used versus wasted. According to Fiori Weed Delivery, proper packing technique leads to smoother hits, less waste, and a genuinely better smoking experience overall — and that’s not marketing fluff, that’s physics and combustion science working together.
Think about it this way: a bowl is essentially a tiny combustion chamber. Air has to flow through the material from bottom to top, pulling heat and vapor through the stem and into your lungs. When you restrict that airflow by packing too densely, you’re fighting against the very mechanism that makes the whole thing work. When you pack too loosely, you lose control of the burn and risk pulling loose material through the pipe entirely. The sweet spot — that medium density everyone in the cannabis community talks about — is what creates the conditions for an even, controlled, flavorful burn that lasts as long as you want it to.
This is also why the quality and freshness of your flower matters so much going in. Dry, crumbly herb behaves completely differently than properly cured, slightly sticky bud. If you’re ever wondering whether your stash is still in good shape, this guide on weed shelf life explains exactly what to look for before you even reach for your grinder.
Step One: The Grind — Your Foundation for Everything
Before a single flake of herb touches your bowl, you need to talk about grind consistency, because it’s the foundation that every other step builds on. According to Leafly, breaking up your weed — whether by hand or with a grinder — is the essential first step in proper bowl packing, and the method you choose has real downstream effects on how your bowl smokes.
A quality grinder produces what the folks at HEMPER describe as “medium-ground herb” — pieces that are broken down enough to allow good airflow but not so fine that they turn into powder and get pulled straight through the bowl hole. That medium grind is the target. Too coarse and you get uneven burning with hot spots. Too fine and you’re essentially trying to smoke dust, which clogs things up and creates a harsh, ashy experience that nobody wants.
The Reddit community over on r/trees has a consistent approach that I’ve seen echoed hundreds of times: scoop herb directly from the grinder into the bowl, then finish packing by hand, pinching and adjusting as needed. That combination gives you the consistency of a mechanical grind with the tactile control of hand-packing. It’s genuinely the best of both worlds, and it’s the method I’ve settled on after years of growing and smoking everything from Blue Dream to Gorilla Glue off my back porch here in Austin.
Now, if you don’t have a grinder handy, hand-breaking absolutely works. The key is to be thorough and patient — you’re aiming for roughly uniform pieces, not a random pile of chunks and powder. Pinch and pull, pinch and pull, working the bud apart until you’ve got a reasonably consistent pile of broken-down flower. It takes longer, but it gets the job done. The one thing you want to avoid is leaving large, dense chunks in the mix, because those won’t burn evenly and will create frustrating dead spots in your bowl.
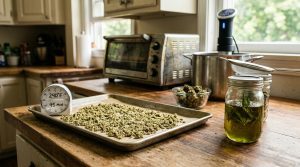
One pro tip that Darrel Henderson swears by: if your bud is slightly too moist and sticky to grind cleanly, let it sit out on a clean surface for five to ten minutes before grinding. Just enough to dry the surface slightly without losing the interior moisture that keeps the terpenes fresh and the smoke smooth.
The Goldilocks Principle: Understanding Packing Density
Here’s where the real magic — and the real confusion — lives. Packing density is everything, and the community consensus is rock solid on this: you want medium density. Not so tight that you’re straining to pull air through, and not so loose that herb is falling around and burning in three seconds flat.
Glass House Farms puts it beautifully with a distinction that I think about every single time I load a bowl: pack, don’t press. That’s the key insight right there. You’re placing herb into the bowl with gentle intention, maybe giving it a light tamp to settle things naturally, but you are absolutely not pressing down with force like you’re trying to compact something. The moment you start pressing aggressively, you’ve crossed the line from packing to compressing, and compressed bowls are a nightmare — restricted airflow, harsh hits, and an uneven burn that wastes good herb.
The light thumb press is the technique I see most experienced smokers use, and it’s what the r/trees community consistently recommends as well. After you’ve loaded your herb into the bowl, place your thumb lightly on top and apply just enough gentle pressure to settle the material — like you’re barely touching it, not pushing it down. Some folks prefer to tap the bowl gently against their palm to let the herb settle under its own weight, which is an even gentler approach that works great for particularly fluffy, airy grinds.
The test for proper density is simple: draw air through the bowl before lighting it. If air flows freely and easily, you’re in good shape. If you’re straining and it feels like you’re trying to breathe through a wet sock, it’s packed too tight and you need to loosen it up with a toothpick or similar tool. If air rushes through with zero resistance and you can feel pieces shifting around, it’s too loose and needs more material or a gentler tamp.
How to Pack a Perfect Bowl
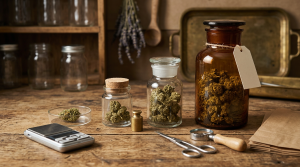
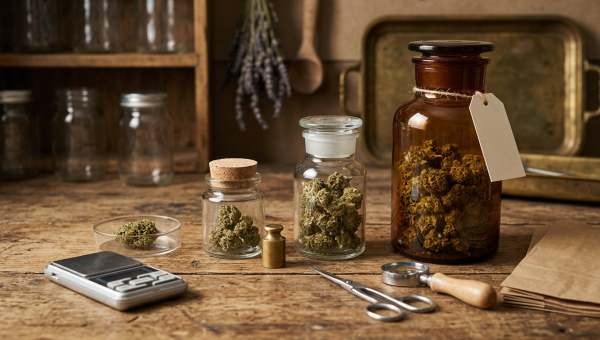
Tools
- Grinder
- Pipe or bong
- Tamper or small tool
- Larger cannabis pieces
Instructions
- Grind cannabis to medium consistency for optimal packing density
- Place larger pieces at the bottom of the bowl to block the hole
- Add ground material in layers, filling the bowl halfway
- Gently tamp down with light pressure to achieve medium density
- Add remaining material to fill the bowl
- Apply final light tamping for even burning
- Test airflow by drawing gently before lighting
The Layering Method: How to Actually Load the Bowl
Now that you understand density, let me walk you through the actual loading process in a way that makes intuitive sense. The HEMPER approach is the one I’ve found most reliable, and it breaks down into a simple layered strategy that ensures both good airflow and a bowl that holds together properly.
Start with the bottom of the bowl — that little hole that connects to the stem or downstem. This is the most important structural decision you’ll make in the whole process. You want to place a slightly larger piece of herb over that hole before you add anything else. This larger piece acts as a natural screen, blocking the hole just enough to prevent smaller, finely ground material from getting pulled through into the stem. Some people use actual glass or metal screens for this, which works great, but an intentionally placed larger chunk of herb does the same job organically. If you’ve ever taken a hit and gotten a mouthful of burnt herb, you know exactly why this step matters.
Once that bottom layer is in place, fill the bowl halfway with your medium-ground herb, letting it fall in loosely without pressing. Then continue adding herb until you’ve reached your desired fill level. The question of how full to pack deserves its own answer: for solo sessions, I’ll often pack a half bowl or three-quarter bowl so I can finish it in one or two hits without waste. For a porch session with friends, a full bowl makes more sense. The community-standard advice is to fill to just below the rim of the bowl, leaving a small lip of space at the top so herb doesn’t spill out when you’re passing the piece around.
After loading, give it that light tamp I mentioned — just enough to settle things without compressing. The finished bowl should look slightly mounded in the middle, with herb sitting at roughly the same height as the rim or just slightly above it. Run your airflow test, and if it passes, you’re ready to light up.
Packing Tools: Fingers, Lighters, and Specialized Gear
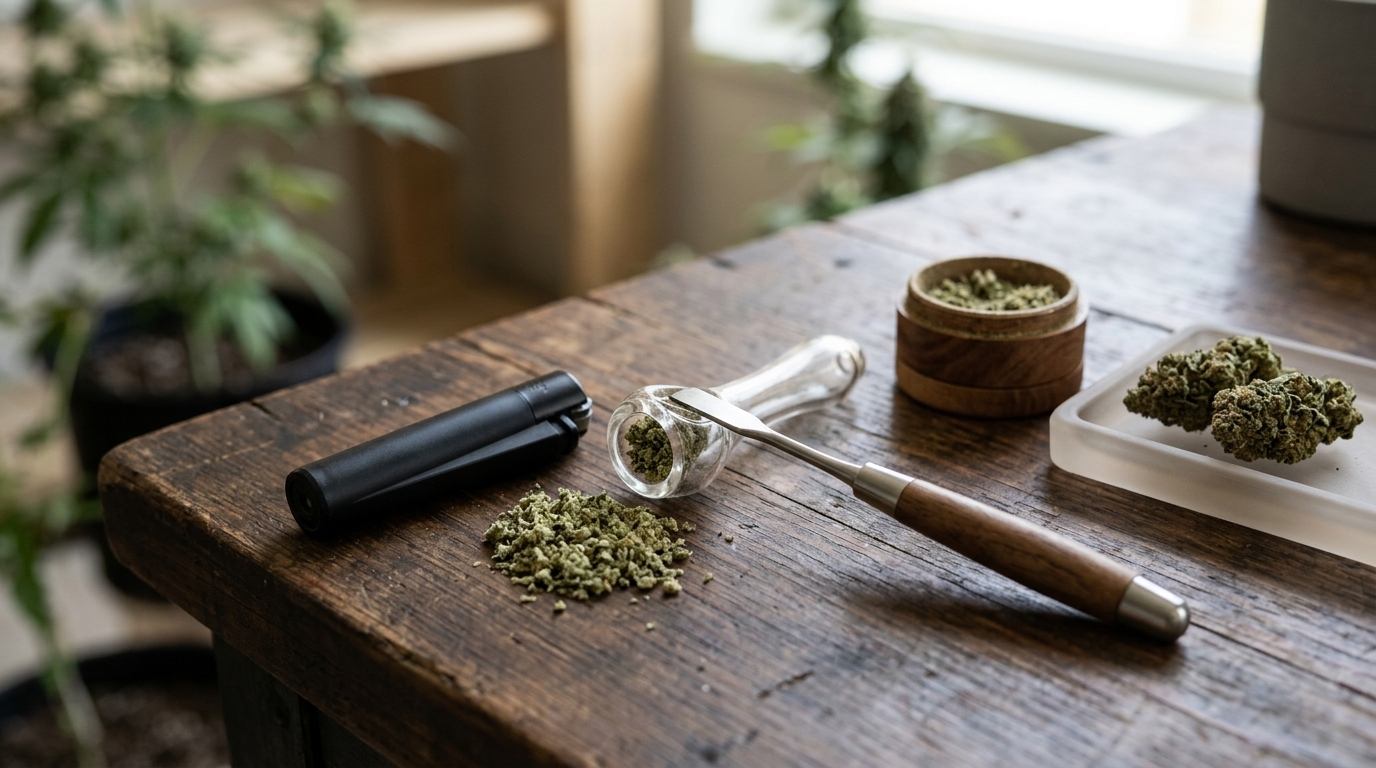
Let’s talk tools, because this is an area where there’s genuine variation in technique and some real differences in outcome. According to Weedmaps, you can gently tamp down material with your finger, the flat end of a lighter, or a dedicated tamping tool — and all three are legitimate options. The key word across all of them is “gently.”
Your finger is the most accessible and tactile option. You can feel exactly how much pressure you’re applying, which makes it easy to stay in that gentle-tamp zone. The downside is that sticky resin will cling to your fingertip over time, which is a minor annoyance but not a real problem. I use my thumb for most casual packs, especially when I’m just loading up a quick bowl of Sunset Sherbet before settling into the porch swing at the end of the day.
The flat end of a lighter is the classic improvised tamping tool, and it works perfectly well. It’s always in your hand anyway, it’s the right size for most standard bowl openings, and the flat metal surface provides even pressure across the top of the herb. Just be careful not to bear down — the weight of the lighter itself is often enough to settle the herb without any additional force.
Specialized packing tools — the kind you see mentioned constantly in r/trees discussions, including the King Palm packing tool that comes up repeatedly in those threads — are genuinely useful if you’re a regular smoker. These tools are designed with the right dimensions and tip shapes to pack bowls cleanly without disturbing the structure you’ve built. They’re especially handy for deeper bowls in larger bongs where your finger can’t reach the bottom effectively. If you’re packing multiple bowls in a session or doing it daily, a dedicated tool is worth having around.
Toothpicks and skewers are underrated for a different purpose: loosening a bowl that’s been packed too tight. If you draw through your bowl and feel that restricted, straining airflow, don’t dump it out and start over. Just insert a toothpick and gently work it around the interior of the bowl to create some channels for air. It takes thirty seconds and saves you from wasting herb.
| Tool | Best For | Pros | Cons |
|---|---|---|---|
| Grinder | Consistent texture | Produces ideal medium consistency, even burn | Requires separate tool |
| Fingers | Quick packing | No additional tools needed, tactile control | Inconsistent density, material sticks to hands |
| Tamper | Packing pressure | Precise control, prevents over-packing | Requires technique to avoid restricting airflow |
| Coin or flat tool | Breaking up material | Readily available, effective for breaking chunks | Less precise than grinder |
| Pre-ground flower | Convenience | Ready to use, consistent quality | May be over-processed, loses freshness |
| Tool | Best For | Pros | Cons |
|---|---|---|---|
| Thumb/Finger | Casual packing, everyday use | Always available, maximum tactile feedback | Gets sticky with resin over time |
| Lighter (flat end) | On-the-go packing | Always in hand, right size for most bowls | Easy to over-press accidentally |
| Dedicated tamping tool | Regular smokers, deep bowls | Purpose-built dimensions, clean and precise | Extra item to carry |
| Toothpick/Skewer | Loosening over-packed bowls | Great for airflow rescue, very precise | Too thin for initial packing |
| Glass screen | Preventing pull-through | Eliminates need for bottom-layer herb trick | Can shift or fall out of bowl |
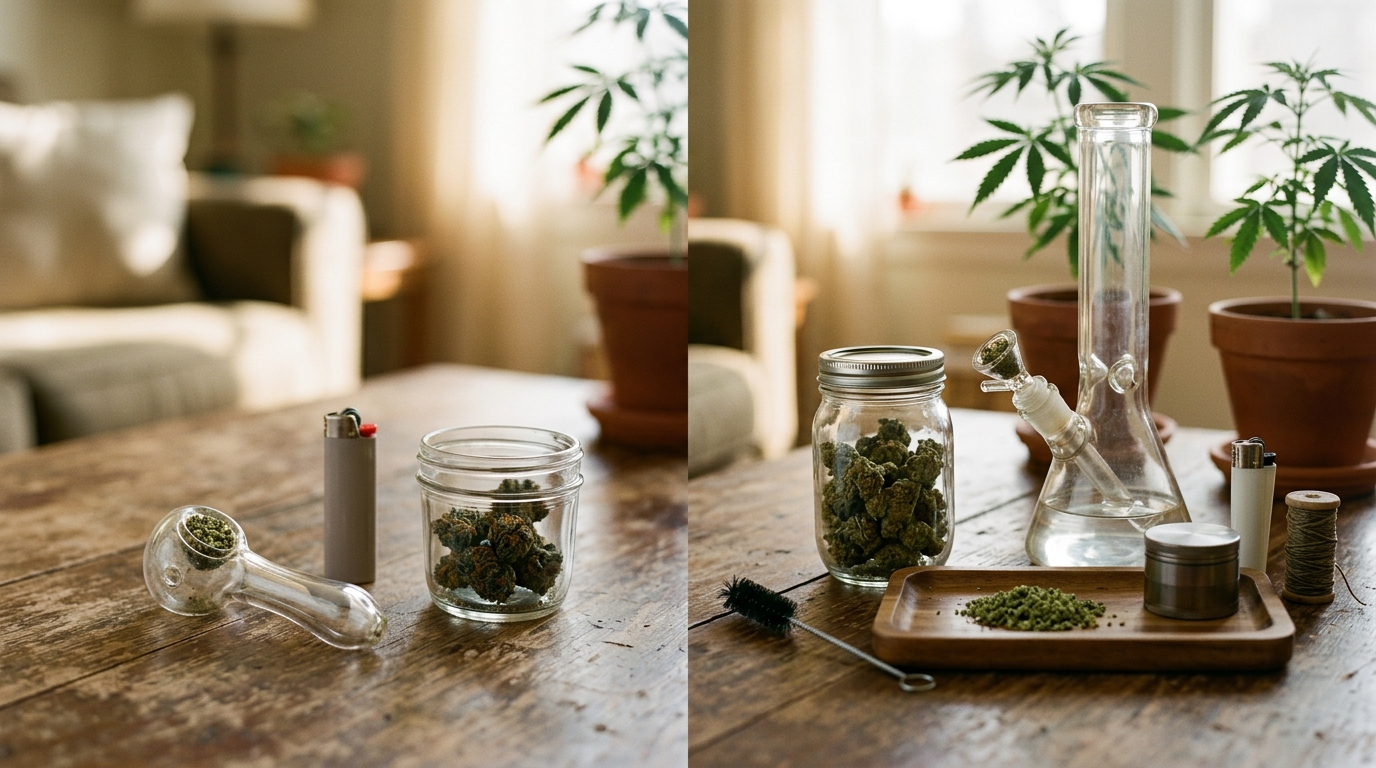
Packing a Bong Bowl vs. a Hand Pipe: Key Differences
The fundamentals of packing are the same across all pipe types, but there are meaningful differences in technique depending on what you’re smoking out of. Understanding those differences will save you from some frustrating experiences, especially when you’re switching between pieces.
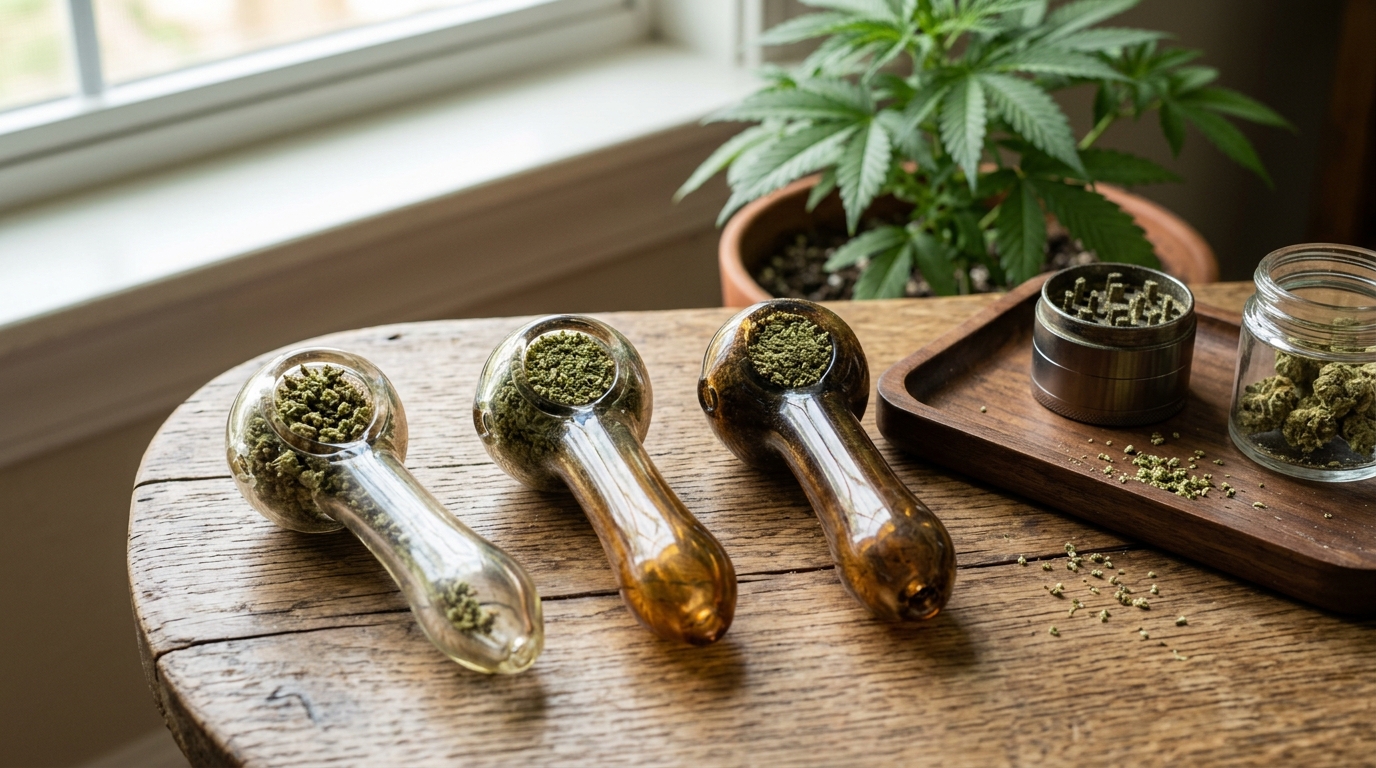
Hand pipes — your classic spoon pipes, chillums, and Sherlock-style pieces — tend to have shallower, wider bowls. The packing process is exactly as described above, but because the bowl is shallower, the bottom-layer technique is especially important. There’s less depth to catch material before it hits the carb hole or stem, so that larger piece at the bottom does critical work. Hand pipes also typically have a carb hole on the side that you cover with your thumb while drawing and release to clear the smoke, which means you need to hold the piece at an angle that doesn’t disturb your pack while you’re managing the carb.
Bong bowls are generally deeper and sometimes narrower, which changes the packing dynamic a bit. The depth means you can layer more herb with more confidence, and the medium-grind approach really shines here because the longer path from bowl to mouthpiece allows for more filtration and cooling. Bong bowls also slide in and out of the downstem rather than using a carb, so you have the advantage of being able to remove the bowl entirely to clear the chamber. When packing a bong bowl, I like to pack it slightly more generously than a hand pipe since the water filtration in the bong smooths out any minor harshness from a fuller pack.
One-hitters and chillums deserve a mention because they’re their own animal entirely. These narrow tubes have almost no bowl to speak of, so you’re essentially just pressing herb into a small opening. Pack these by pressing the tip directly into your ground herb pile and twisting slightly — the tube will pick up just the right amount. No tamping needed; the tube itself does the work.
For those of you who grow your own and want to understand how the plant’s structure affects what ends up in your bowl, Maya Chen has written extensively about how terpene profiles and curing methods affect the final smoking quality of your harvest — it’s worth understanding the full chain from seed to smoke.
The Art of Cornering: Making Your Bowl Last
Cornering is one of those techniques that separates the thoughtful smoker from the careless one, and it’s especially important in social settings. The idea is simple: instead of torching the entire surface of your bowl in one go, you light only a small section — a “corner” — at a time. This preserves the fresh, unburned herb for subsequent hits and ensures that everyone in the rotation gets a green hit with full flavor rather than a mouthful of ash.
To corner properly, tilt your lighter flame so it touches only the edge of the herb, not the center. Take your hit, then pull the flame away as soon as the herb catches. You should see a small cherry glowing in one section of the bowl while the rest remains green. The next person in rotation corners a different section, and so on until the bowl is fully cashed.
This technique also affects how you should pack for social sessions. When you know you’re going to be cornering, pack the bowl slightly fuller and with slightly less density than you might for a solo hit — you want enough material that each corner hit gets a meaningful draw without burning through to ash too quickly. Strains with dense, sticky buds like Animal Mints or Kush Mints tend to hold a corner beautifully because the resin-heavy material burns slowly and evenly.
Common Mistakes and How to Fix Them Right Now
I’ve made every one of these mistakes personally, and I’ve watched plenty of friends make them too. Here’s the honest breakdown of what goes wrong most often and exactly how to course-correct.
The most common mistake is packing too tight — usually born from the instinct that a tighter pack will make the bowl last longer. The Reddit community has a nuanced take on this: yes, some experienced smokers intentionally pack slightly tighter to extend a bowl across multiple hits, but they know exactly how tight is too tight and they’re working with well-ground herb that allows some airflow even when compressed. For beginners, the tight pack almost always goes too far and creates a bowl that’s genuinely unsmokeable without extraordinary lung power. Fix it with a toothpick as described above, or dump it out and start fresh with a lighter hand.
The second most common mistake is not breaking down the herb enough before packing. Large chunks sitting in a bowl create hot spots, uneven burns, and those frustrating “canoe” situations where one side of the bowl burns down while the other stays green. The fix is always better prep — take an extra minute with your grinder or your hands before you load anything into the bowl.
Forgetting the bottom-layer piece is a mistake that announces itself immediately and dramatically, usually with a mouthful of herb and a coughing fit. If you’ve already packed the bowl without that protective bottom piece, you can sometimes slide a small piece of stem or a folded piece of herb into the bowl from the top and work it down to cover the hole, but honestly it’s easier to dump it out and start properly.
Overfilling is another classic beginner error. Herb piled above the rim of the bowl will fall off when you tilt the piece, scatter when you pass it, and burn unevenly because the material at the very top is essentially floating in open air. Keep it at or just slightly below the rim, and you’ll have a much more manageable bowl.
Finally, using herb that’s too dry is a mistake that affects everything downstream. Overly dry herb grinds to powder, packs inconsistently, burns too fast and too hot, and produces harsh smoke that makes even a perfectly packed bowl unpleasant. If you want to understand proper storage to keep your flower at the right moisture level, our guide on weed freshness and storage covers exactly how to keep your stash in prime condition. And if you’re curious about kief — all that good stuff that falls to the bottom of your grinder — this kief guide explains how to use it, including sprinkling some on top of a packed bowl for an elevated experience.
Packing for Different Sessions: Quick Hits vs. Extended Hangs
Not every bowl needs to be packed the same way, and adjusting your approach to match the session is a subtle skill that makes a real difference in your experience. For a quick solo hit — maybe a microdose of Green Crack to get some creative energy flowing before you sit down to write — a half-packed bowl with slightly looser density is ideal. It burns clean in one or two hits, nothing gets wasted sitting in a half-cashed bowl, and you’re not committing to more than you want.
For a long, lazy session on the back porch — the kind where you’ve got nowhere to be, the BBQ is smoldering, and good company is settled into chairs — a full, properly packed bowl that corners well is the move. Pack it with intention, use the layering method carefully, and let the cornering technique stretch it out across the whole group. Strains that burn slowly and produce complex flavor across multiple hits — something like Zkittlez or Wedding Cake — really reward this approach.
If you’re somewhere that requires discretion and you need to be done in one hit, a tighter pack in a small bowl is actually appropriate here. The controlled, intentional tight pack for a one-hitter or small pipe is a legitimate technique when you know exactly what you’re doing — it’s the accidental, excessive tight pack that causes problems. The difference is awareness and intention.
For anyone who wants to go deeper on all the ways cannabis culture has evolved around consumption rituals and lifestyle, our cannabis blog covers everything from growing techniques to strain reviews to the cultural side of the plant that I find most fascinating.
Frequently Asked Questions
How do you pack a bowl by hand without a grinder?
Break your herb apart using your fingers, pinching and pulling until you have roughly uniform, medium-sized pieces with no large chunks remaining. Work over a clean surface or rolling tray so you don’t lose material. It takes a bit more time than a grinder, but hand-broken herb can actually produce a slightly more varied texture that some smokers prefer. The goal is consistency — you want pieces small enough to allow airflow but not so fine they become powder that pulls through the bowl hole.
How do you pack a bong bowl properly?
Packing a bong bowl follows the same core principles as any other bowl — medium grind, larger piece at the bottom to cover the hole, gentle tamp to medium density — but bong bowls are often deeper and benefit from a slightly more generous fill since the water filtration smooths out the smoke. Make sure your ground herb is consistent throughout, test airflow before lighting, and use the cornering technique to preserve fresh herb across multiple hits. Remove the bowl completely (rather than using a carb) to clear the chamber once you’ve taken your hit.
What’s the difference between packing too tight vs. too loose?
A bowl packed too tight restricts airflow severely, making it difficult to draw through and causing harsh, uneven burning. You’ll strain to pull a hit and the smoke will be hot and irritating. A bowl packed too loose burns too quickly, may allow material to pull through into the stem, and produces an inconsistent burn that wastes herb. The target is medium density — herb that’s settled enough to stay in place but loose enough that air flows freely when you draw through the unlit bowl before lighting.
Should you use a grinder or break up weed by hand?
Both methods work, and experienced smokers often combine them — using a grinder for consistent medium-grind consistency and then hand-finishing the pack for tactile control. Grinders produce more uniform results and are faster, which is why they’re the community standard. Hand-breaking gives you more control over final piece size and texture. The Reddit consensus is to grind first, then hand-pack and adjust as needed. Either way, the goal is medium-ground herb with no large chunks or powder extremes.
What tools can be used to pack a bowl?
Your thumb or finger is the most accessible tool and provides the best tactile feedback for gauging density. The flat end of a lighter is the classic improvised tamping tool that most smokers already have in hand. Dedicated tamping tools — including purpose-built packing tools from brands like King Palm — offer precise dimensions and clean packing, especially for deeper bong bowls. Toothpicks and skewers are invaluable for loosening over-packed bowls after the fact. Glass or metal screens can be placed at the bottom of the bowl as an alternative to the large-piece-bottom technique.
How full should a bowl be packed?
For most situations, fill to just below the rim of the bowl, leaving a small lip of space at the top to prevent spillage when passing the piece. For solo quick-hit sessions, a half to three-quarter pack is often more practical since you can finish it cleanly in one or two hits without leaving a half-cashed bowl to go stale. For social sessions where you’ll be cornering, a full bowl is appropriate. The key is matching your fill level to your session rather than always defaulting to one approach.
What grind consistency is best for packing a bowl?
Medium grind is the universal answer — pieces broken down enough to allow good, consistent airflow through the bowl but not so fine that they become powder and pull through the hole or clog the stem. According to HEMPER, medium-ground herb with larger pieces placed at the bottom of the bowl is the optimal approach. Avoid extremes in either direction: overly coarse herb creates hot spots and uneven burning, while powdery fine herb clogs the bowl and produces harsh, ashy smoke. Most quality two or three-piece grinders produce exactly the right consistency with a few turns.