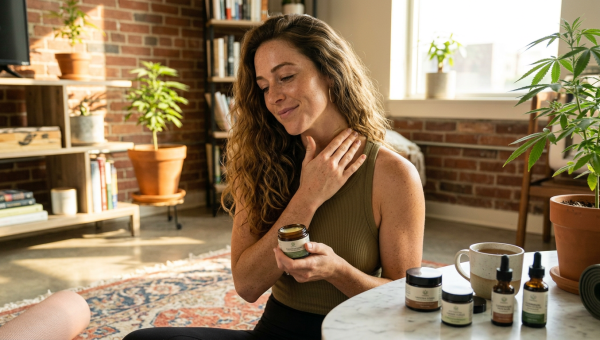
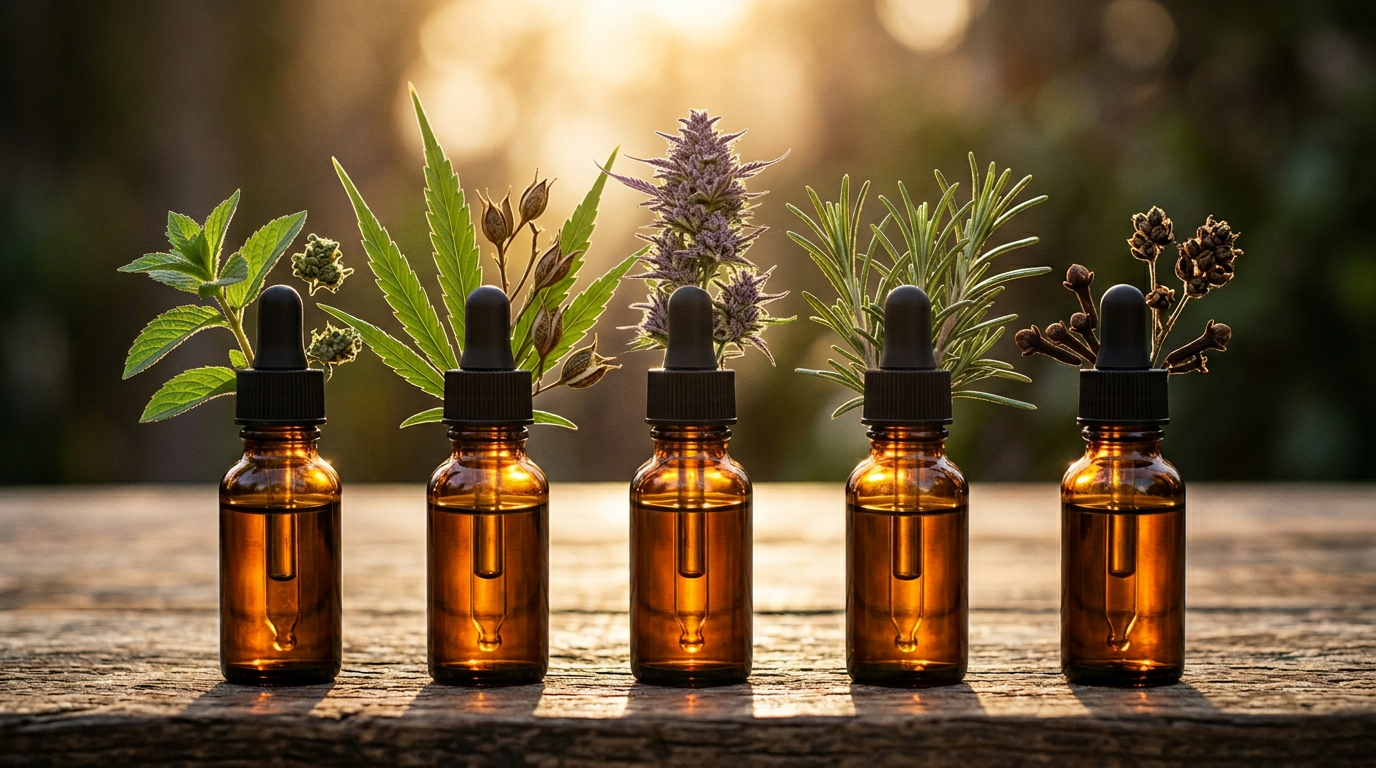
It started with a batch of failed cannabutter. I had leftover trim from a home grow, a kitchen full of coconut oil, and absolutely zero interest in letting good plant material go to waste. A friend mentioned she’d been making her own cannabis salve for her chronically sore shoulders, and something clicked. Within a week, I had my stovetop covered in double boilers, my countertop dusted with beeswax shavings, and a finished balm that smelled like a spa and worked better than anything I’d bought at a dispensary. That was my introduction to DIY cannabis topicals — and I’ve never looked back.
If you’ve already explored the world of cannabis edibles (and if you haven’t, our our cannabis blog is a great place to start), topicals feel like a natural next step. They’re approachable, customizable, deeply satisfying to make, and genuinely useful. Whether you’re dealing with sore muscles after a long hike, dry skin in the middle of a Colorado winter, or chronic joint discomfort that flares up every morning, a well-made cannabis topical can become one of your most-reached-for home remedies. This guide covers everything from decarboxylation basics to four full recipes, troubleshooting, storage, and how to choose the right strain for the job.
Why Cannabis Topicals Work — and Why Making Them at Home Makes Sense
Cannabis topicals work through cannabinoid receptors located in the skin, providing targeted relief without the systemic effects associated with inhalation or ingestion. This is the key distinction that makes topicals so appealing to such a wide audience: you get localized anti-inflammatory, analgesic, and skin-soothing effects without any psychoactive experience (in most cases — transdermal patches are a different story). The science behind this is covered in wonderful detail in our complete cannabis topicals guide, but the short version is that your skin is rich with CB1 and CB2 receptors that respond directly to applied cannabinoids.
The case for making topicals at home is also a financial one. A two-ounce commercial cannabis balm can run anywhere from $30 to $80 at a California or Colorado dispensary, depending on potency and brand. A homemade batch of similar size, using trim or shake you might already have on hand, costs a fraction of that — and you control every single ingredient. There’s no mystery preservative list, no artificial fragrance, and no compromising on the essential oil blend. You decide what goes on your skin.
One critical thing to understand before you start: cannabis is fat-soluble, which means cannabinoids must bind to fat molecules to be effective in any topical preparation. This is why we always use a carrier oil — coconut oil, olive oil, or avocado oil — as the base. Water-based formulas simply won’t carry cannabinoids effectively. Everything else in topical-making flows from this fundamental chemistry.
Decarboxylation: The Non-Negotiable First Step
Decarboxylation is the essential first step in making any active cannabis preparation, and skipping it means your topical will contain mostly CBDA and THCA — the raw, unactivated acid forms of cannabidiol and THC — rather than the CBD and THC your receptors actually respond to. The process is simple: heat converts THCA to THC and CBDA to CBD by removing a carboxyl group from the molecular structure. In practical terms, you’re just baking your cannabis in the oven at a controlled temperature before infusing it into oil.
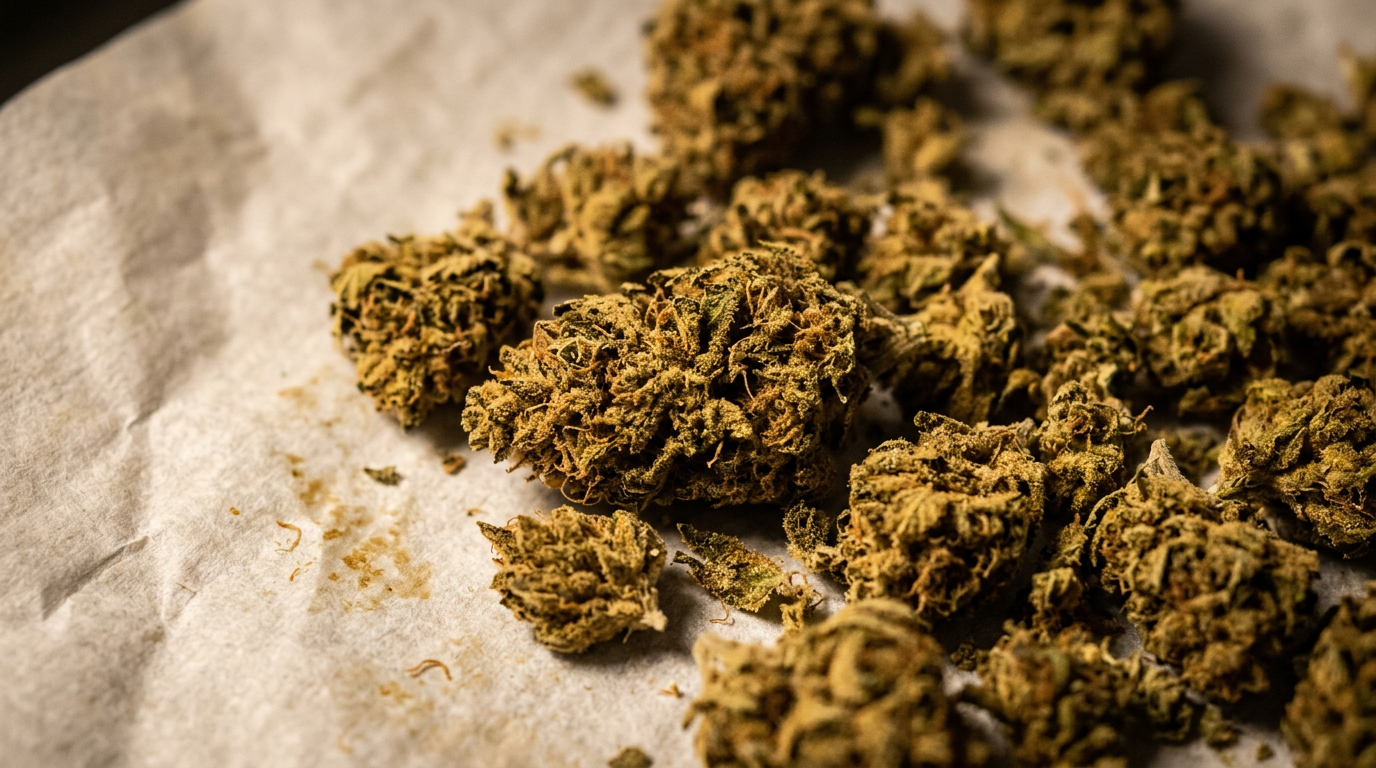
My method: preheat your oven to 240°F (115°C). Break up your cannabis material — buds, trim, or shake all work — and spread it in an even layer on a parchment-lined baking sheet. Bake for 30 to 40 minutes, stirring gently halfway through. The material will shift from bright green to a slightly toasty, olive-brown color. That’s exactly what you want. Pull it out, let it cool completely, and it’s ready for infusion. I go deep on this process in my cannabutter guide, which covers decarb temperatures, timing variations, and how to preserve terpenes if you’re working with premium flower rather than trim.
One thing I always tell people: don’t rush the decarb. Under-decarbed cannabis means under-activated cannabinoids, which means a less effective topical. Over-decarbed cannabis — pushed past 250°F or left too long — starts to degrade THC into CBN, which has its own sedating properties but isn’t what most topical users are after. Stick to the 240°F sweet spot and set a timer.
Making Your Cannabis-Infused Oil Base
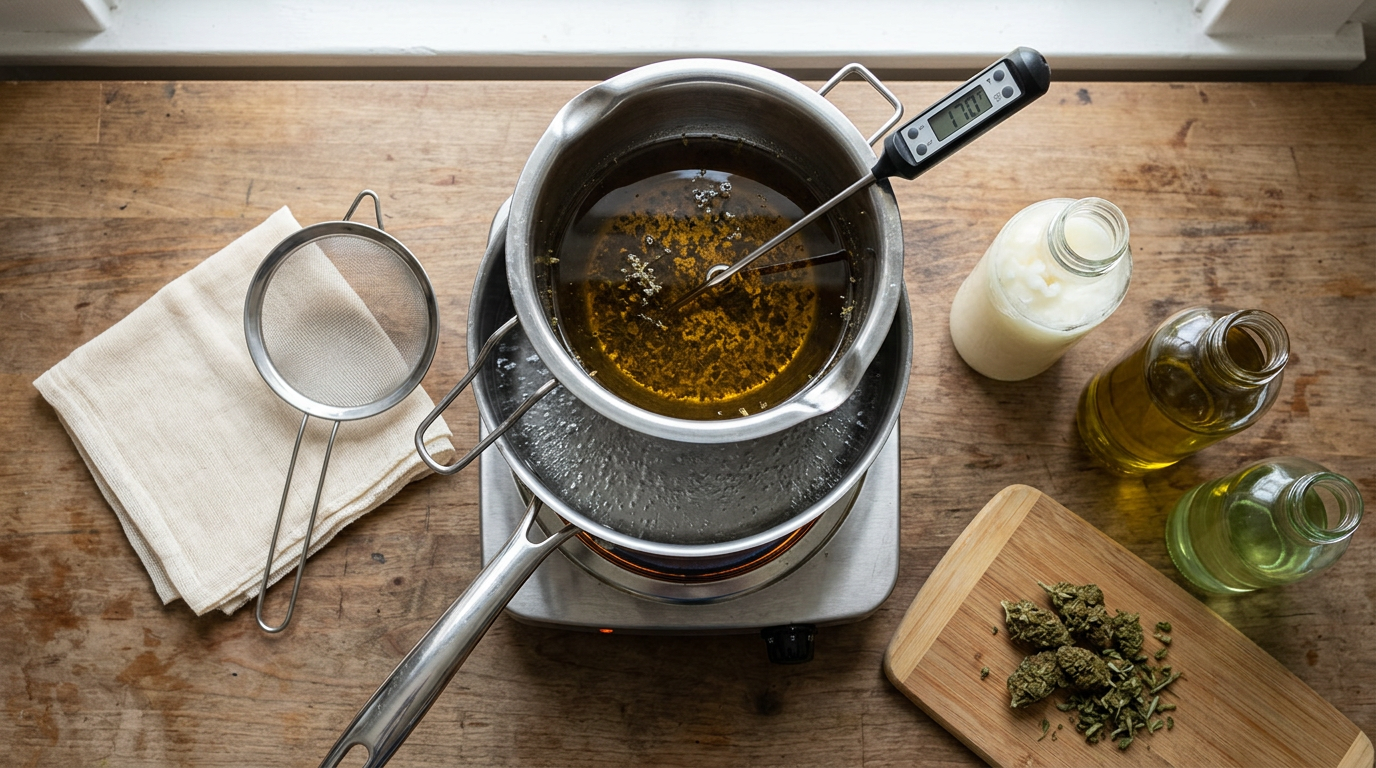
A well-made cannabis-infused oil is the foundation of every topical recipe in this guide, and the double boiler method is the most reliable way to make it at home without scorching your material or overheating your oil. The standard ratio I work with — and that aligns with community consensus across Reddit and DIY cannabis forums — is approximately 7 to 10 grams of decarbed cannabis per 1.5 cups of carrier oil. This gives you a potent but workable base that scales well into balms and salves.
Coconut oil is my personal favorite for topicals because it’s solid at room temperature, which helps your finished balm hold its shape, and it has a naturally long shelf life. Olive oil is a beautiful choice for skin care-focused preparations because of its oleic acid content and skin-conditioning properties. Avocado oil brings a silky, lightweight texture that absorbs beautifully — I love it in facial preparations. All three are excellent choices; your decision should be based on the end product you’re making and your skin’s preferences.
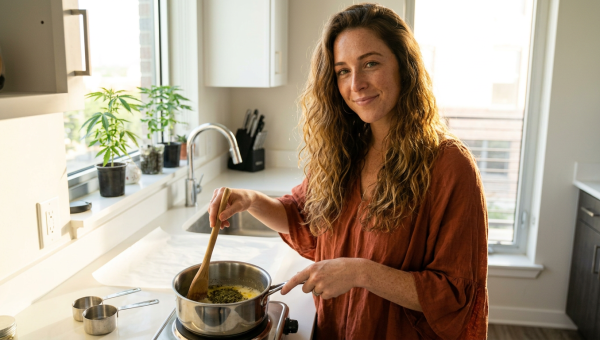
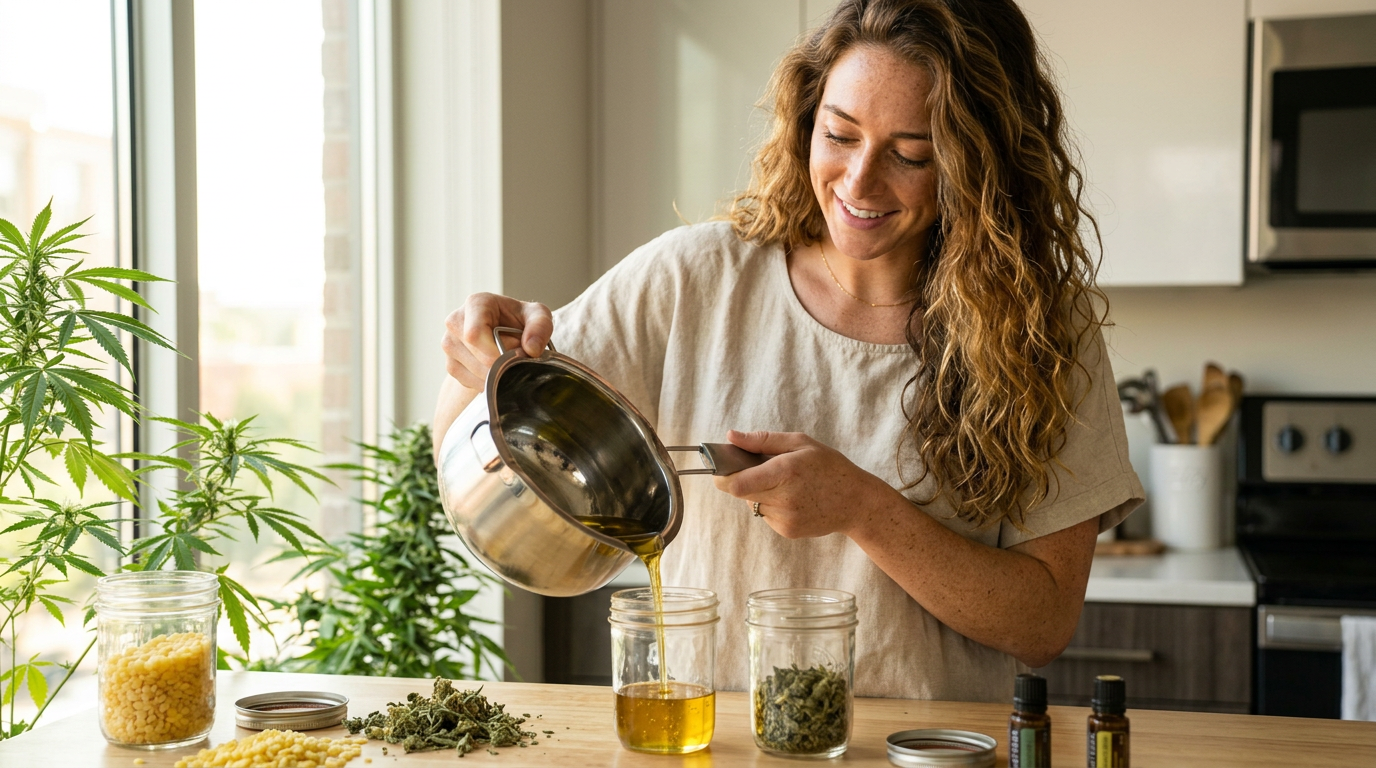
To make the infused oil: combine your decarbed cannabis and carrier oil in the top vessel of a double boiler. Fill the bottom pot with a few inches of water and bring it to a gentle simmer. Keep the heat low — you want the oil to hover around 160–180°F, never boiling. Maintain this gentle heat for two to three hours, stirring occasionally. Strain through a fine mesh strainer lined with cheesecloth, squeezing gently to extract every drop of infused oil. Discard the spent plant material. Your golden, cannabis-infused oil is now ready to use in any of the recipes below.
Basic Cannabis-Infused Healing Balm
Ingredients
- 1/2 oz decarboxylated cannabis flower
- 1 cup coconut oil or beeswax
- 1/4 oz dried arnica or calendula (optional)
- 10 drops essential oil (lavender or eucalyptus)
Instructions
- Decarboxylate cannabis at 240°F for 30-40 minutes until golden brown
- Heat carrier oil in double boiler over low heat
- Add decarboxylated cannabis and infuse for 2-3 hours, stirring occasionally
- Strain through cheesecloth into clean container
- Add essential oil and pour into balm containers
- Allow to cool and set before use
Choosing the Right Cannabis for Your Topicals
High-CBD strains are the top recommendation for topical applications because CBD’s anti-inflammatory and analgesic properties are particularly well-suited to the localized, receptor-mediated mechanism through which topicals work. That said, many experienced topical makers — myself included — prefer a balanced 1:1 THC-to-CBD ratio for pain relief preparations, a preference that’s strongly echoed in the Reddit DIY community. THC brings its own analgesic and anti-inflammatory properties, and when paired with CBD, the two cannabinoids appear to work synergistically — something Maya Chen covers beautifully in her deep dives into the entourage effect and how cannabinoids interact in the body.
For strain selection, I lean toward indica-dominant or high-CBD cultivars for topical work. Granddaddy Purple is a longtime favorite of mine for pain-focused balms — its myrcene-rich terpene profile brings additional anti-inflammatory potential, and I love the idea of those relaxing, body-forward properties infused right into a muscle salve. Northern Lights is another classic choice: reliable, resinous, and consistently high in the cannabinoids you want for topical relief. If you’re working with trim from a home grow, whatever high-resin cultivar you’re running will generally serve you well.
For skin-focused preparations — think facial serums or soothing creams for eczema-prone skin — I’d reach for strains with higher CBD content and gentler terpene profiles. Trim from any CBD-dominant cultivar works wonderfully here. If you’re curious about the science of how specific terpenes contribute to topical effects, our terpenes deep dive is an excellent resource. Darrel Henderson also has great notes on selecting and growing high-resin strains that are particularly well-suited to extraction and infusion projects.
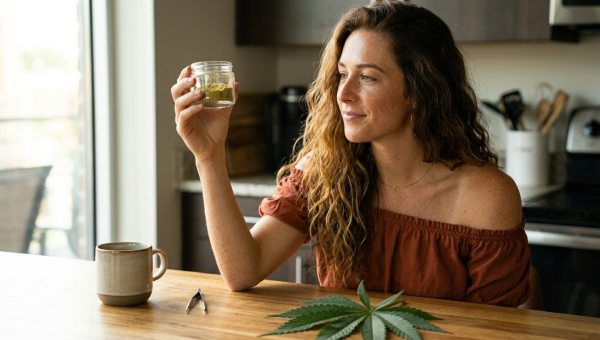
One cost-saving note: trim and shake are perfectly appropriate for topicals. You don’t need premium buds. The lower-grade material that accumulates during a home grow — the stuff you might otherwise compost — infuses beautifully and produces highly effective topicals. This is one of the reasons the DIY community loves topical-making so much.
Recipe Comparison: Finding Your Starting Point
| Recipe Type | Difficulty | Prep Time | Shelf Life | Best For |
|---|---|---|---|---|
| Basic Pain Relief Balm | Beginner | 30 min + infusion | 6–12 months | Joint pain, sore muscles, general relief |
| Muscle Salve | Beginner | 45 min + infusion | 6–12 months | Post-workout recovery, deep muscle aches |
| Soothing Skin Cream | Intermediate | 60 min + infusion | 1–3 months | Dry skin, eczema, sensitive skin care |
| Cannabis Bath Bombs | Intermediate | 45 min + drying time | 3–6 months | Full-body relaxation, skin softening |
| Essential Oil Roll-On | Beginner | 15 min + infusion | 3–6 months | Targeted spot treatment, headaches, tension |
Recipe 1: Basic Pain Relief Balm
This is the recipe I recommend to every first-time topical maker because it’s forgiving, flexible, and produces a genuinely impressive result with minimal equipment. The formula is simple: cannabis-infused coconut oil, beeswax for structure, and a blend of essential oils for enhanced therapeutic effect and fragrance. Peppermint and eucalyptus are my go-to additions because the cooling sensation they create complements the cannabis beautifully and provides immediate, perceptible relief — which is especially satisfying when you’re making something for a skeptical friend.
Recipe
Ingredients
- 1/2 cup cannabis-infused coconut oil (prepared per base recipe above)
- 1/3 cup beeswax pellets
- 1 tsp vitamin E oil (acts as natural preservative and skin conditioner)
- 15 drops peppermint essential oil
- 10 drops eucalyptus essential oil
- 5 drops lavender essential oil (optional, for calming addition)
Instructions
- Combine cannabis-infused coconut oil and beeswax pellets in the top of a double boiler
- Heat gently, stirring, until beeswax is completely melted and mixture is uniform
- Remove from heat and allow to cool for 3–5 minutes (mixture should still be liquid but not scorching)
- Stir in vitamin E oil and essential oils quickly — heat degrades volatile essential oil compounds
- Pour immediately into clean tins or glass jars
- Allow to cool and set completely at room temperature — do not refrigerate during this stage
- Cap tightly once fully solid. Label with date and contents.
The beeswax ratio is worth paying attention to. A third to a half cup of beeswax per batch is the standard range, but the right amount depends on your climate and your preference. I live in Los Angeles where summer temperatures can push a balm toward liquid if you’ve under-waxed it — I lean toward the higher end in warm months. If you’re in Minnesota or the Pacific Northwest where you’re storing this in a cool environment, a lighter wax ratio gives a more pleasant texture for application. The cold-plate test I mention in the recipe is genuinely useful: drop a small spoonful onto a chilled plate, wait 60 seconds, and feel the consistency. That’s exactly what your finished balm will feel like.
Recipe 2: Deep Muscle Salve
A muscle salve is essentially a more intensive version of the basic balm, with a higher carrier oil ratio for deeper penetration and a more aggressive essential oil profile designed for post-workout recovery and deep aches. I make this one regularly for my hiking group — we’re all in our late twenties and thirties and somehow convinced ourselves that weekend trail running was a good idea. This salve has become a group staple.
Recipe
Ingredients
- 1/2 cup cannabis-infused coconut oil
- 1/4 cup cannabis-infused olive oil (or plain olive oil)
- 1/3 cup beeswax pellets
- 1 tbsp arnica-infused oil (optional but highly recommended for muscle recovery)
- 1 tsp vitamin E oil
- 20 drops peppermint essential oil
- 15 drops eucalyptus essential oil
- 10 drops rosemary essential oil
- 5 drops clove essential oil (use sparingly — warming and potent)
Instructions
- Melt beeswax in double boiler
- Add both infused oils and arnica oil, stir to combine fully
- Remove from heat, cool 3–5 minutes
- Add vitamin E and all essential oils, stir quickly and thoroughly
- Pour into wide-mouth tins or jars for easy access during post-workout application
- Cool completely before sealing
Recipe 3: Soothing Skin Cream
A skin cream is a step up in complexity because it requires creating an emulsion — combining a water phase and an oil phase — rather than working with purely oil-based ingredients. The result is a lighter, more absorbent product that’s ideal for facial use, sensitive skin, or anyone who finds the heavier balm texture too occlusive for everyday use. This is my personal favorite for dry skin days, and I’ve been making variations of it since I first started experimenting with cannabis-infused skincare.
Because this recipe contains water, it has a shorter shelf life than anhydrous preparations and genuinely benefits from a natural preservative. Vitamin E oil helps, but for a cream you plan to keep for more than a month, I recommend adding a small amount of rosemary antioxidant extract, which is widely available at natural food stores and online. Proper storage matters more with creams than with balms — more on that in the storage section below.
Recipe
Ingredients
- 1/4 cup cannabis-infused avocado oil (or olive oil)
- 2 tbsp shea butter
- 1 tbsp emulsifying wax (available at natural cosmetic suppliers)
- 1/2 cup distilled water or aloe vera juice
- 1 tsp vitamin E oil
- 1/4 tsp rosemary antioxidant extract (natural preservative)
- 10 drops lavender essential oil
- 5 drops chamomile essential oil
- 5 drops frankincense essential oil (excellent for skin regeneration)
Instructions
- Create oil phase: melt shea butter and emulsifying wax in double boiler, add cannabis-infused avocado oil, stir to combine. Maintain at approximately 160°F.
- Create water phase: gently heat distilled water or aloe vera juice in a separate container to the same temperature (approximately 160°F).
- Slowly pour water phase into oil phase while stirring continuously — this creates the emulsion.
- Continue stirring as mixture cools. It will thicken as it reaches room temperature.
- Once cooled to below 100°F, stir in vitamin E, rosemary antioxidant extract, and essential oils.
- Transfer to a clean pump bottle or jar.
- Refrigerate and use within 1–3 months.
Recipe 4: Cannabis Bath Bombs
Bath bombs are my favorite thing to bring to a dinner party or give as a hostess gift — they look impressive, smell incredible, and the concept of a cannabis-infused bath is genuinely luxurious. The cannabis-infused oil disperses throughout the bathwater as the bomb fizzes, coating your skin and providing a full-body version of the topical experience. It’s deeply relaxing without being psychoactive, and it’s a wonderful way to introduce skeptical friends to the world of cannabis wellness.
Recipe
Ingredients
- 1 cup baking soda
- 1/2 cup citric acid
- 1/2 cup cornstarch
- 1/2 cup Epsom salts
- 3 tbsp cannabis-infused coconut oil, melted
- 1 tbsp sweet almond oil or jojoba oil
- 1 tsp vitamin E oil
- 20 drops lavender essential oil
- 10 drops eucalyptus essential oil
- Natural colorant (optional — cosmetic-grade mica powder or dried flower petals)
Instructions
- Whisk together all dry ingredients (baking soda, citric acid, cornstarch, Epsom salts) in a large bowl.
- Combine all liquid ingredients (melted cannabis-infused coconut oil, almond oil, vitamin E, essential oils) in a separate small bowl.
- Very slowly drizzle liquid mixture into dry mixture, whisking constantly and quickly — if you add liquid too fast, the citric acid will activate and your mixture will fizz prematurely.
- Mixture should hold together when pressed in your palm. If too dry, add liquid oil one drop at a time.
- Add colorant if desired and mix thoroughly.
- Pack firmly into bath bomb molds, pressing halves together if using sphere molds.
- Unmold after 24 hours and allow to cure for an additional 24 hours before wrapping.
- Wrap individually in plastic wrap or cellophane to prevent moisture activation.
Essential Oils That Enhance Cannabis Topicals
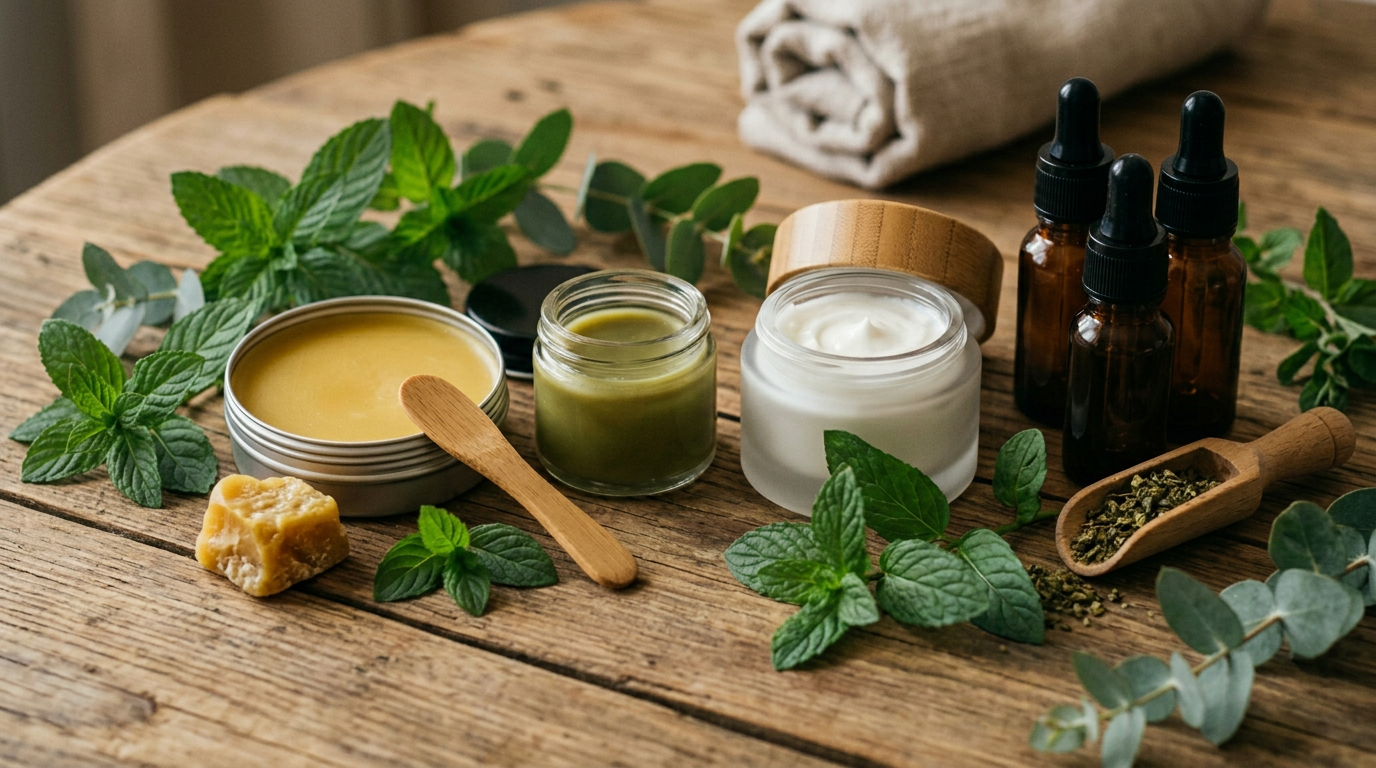
Essential oils aren’t just about fragrance in cannabis topicals — many of them bring genuine therapeutic properties that complement and amplify the effects of cannabinoids. Peppermint oil contains menthol, which creates a cooling sensation and has mild analgesic properties of its own. Eucalyptus oil is a classic anti-inflammatory addition with a camphoraceous scent that reads as immediately medicinal. Lavender is the universal calming addition — it’s anti-inflammatory, gently analgesic, and has a well-documented effect on stress and anxiety. Rosemary oil improves circulation and is particularly effective in muscle preparations. Clove oil is warming and contains eugenol, a natural analgesic, but it’s potent enough that I always recommend patch testing before widespread use.
The aromatherapy dimension of cannabis topicals is something I find genuinely exciting from a formulation perspective. You’re essentially building a layered sensory experience — the immediate cooling or warming from essential oils, the medium-term relief from cannabinoids, and the background scent that signals to your nervous system that it’s time to relax. It’s holistic in the truest sense. If you want to understand why certain terpenes in your cannabis material might also be contributing to the topical’s effect, our entourage effect explainer is genuinely fascinating reading.
Dosage Guidance and Potency Estimation
Estimating the potency of homemade cannabis topicals requires knowing the approximate cannabinoid content of your starting material, and while home testing isn’t practical for most makers, reasonable estimates are possible. If you’re working with cannabis that’s approximately 15% THC (a common mid-range figure for home grows), 10 grams of material contains roughly 1,500mg of THCA, which converts to approximately 1,200–1,300mg of THC after decarboxylation accounting for molecular weight loss. Distributed across 1.5 cups of oil and then into a batch of balm, you can estimate the approximate mg per teaspoon of finished product.
In practice, topical dosing is more forgiving than edible dosing because the cannabinoids aren’t entering the bloodstream in any significant quantity. Most users feel relief from cannabis topicals within 10 to 30 minutes of application, and the appropriate amount is whatever covers the affected area adequately — typically a dime-to-quarter-sized amount for a joint or small muscle group. If you’re not feeling relief after 30 minutes, apply a bit more. There’s no psychoactive ceiling to worry about with standard topicals (non-transdermal), which makes them genuinely beginner-friendly. For a contrast with how dosing works in edibles — where precision really does matter — my complete edibles guide breaks down the math in detail.
Infusion Method Comparison: Double Boiler vs. Slow Cooker vs. Oven
The double boiler method is my consistent recommendation for cannabis oil infusion because it provides the most precise temperature control and the lowest risk of overheating your oil or scorching your plant material. The slow cooker (crockpot) method is extremely popular in the DIY community and works well — set it to the lowest heat setting and let it run for four to six hours. The main risk is that some slow cookers run hotter than their settings suggest, so a thermometer is essential. The oven method — sealing cannabis and oil in a mason jar and placing it in a water bath in the oven — is effective and largely hands-off, though it requires careful monitoring to maintain temperature.
For topical-making specifically, I prefer the double boiler because I’m often making smaller batches than I would for edibles, and the stovetop setup gives me more control and visibility throughout the process. The slow cooker is excellent if you’re making a large batch of infused oil to divide across multiple topical recipes — set it up in the morning and come back to strained, finished oil in the afternoon.
Troubleshooting Your Homemade Topicals
The most common issue I hear from first-time topical makers is a consistency problem: the finished balm is either too hard and waxy or too soft and greasy. Both are easy fixes. A too-hard balm simply needs less beeswax in the next batch — reduce by a tablespoon at a time until you find your sweet spot. A too-soft balm needs more beeswax, or alternatively, you can melt it down, add additional wax, and re-pour. The re-melt method works beautifully and saves you from starting over.
A cream that separates back into oil and water phases means your emulsion didn’t set properly — usually because the oil and water phases were at different temperatures when combined, or because you didn’t stir vigorously enough during the cooling phase. You can sometimes rescue a separated cream by gently reheating both phases to the same temperature and re-blending with an immersion blender, but honestly, starting fresh with better temperature control is often easier.
If your topical smells “off” or rancid before its expected shelf life, the culprit is almost always the carrier oil going bad — particularly olive oil, which has a shorter shelf life than coconut oil. I cover oil and cannabis product shelf life in detail in my piece on cannabis storage and shelf life, which includes guidance on how to tell when a cannabis-infused product has turned. The short version: trust your nose. Rancid oil has a distinctive sour, paint-like smell that you’ll recognize immediately.
Storage, Shelf Life, and Safety
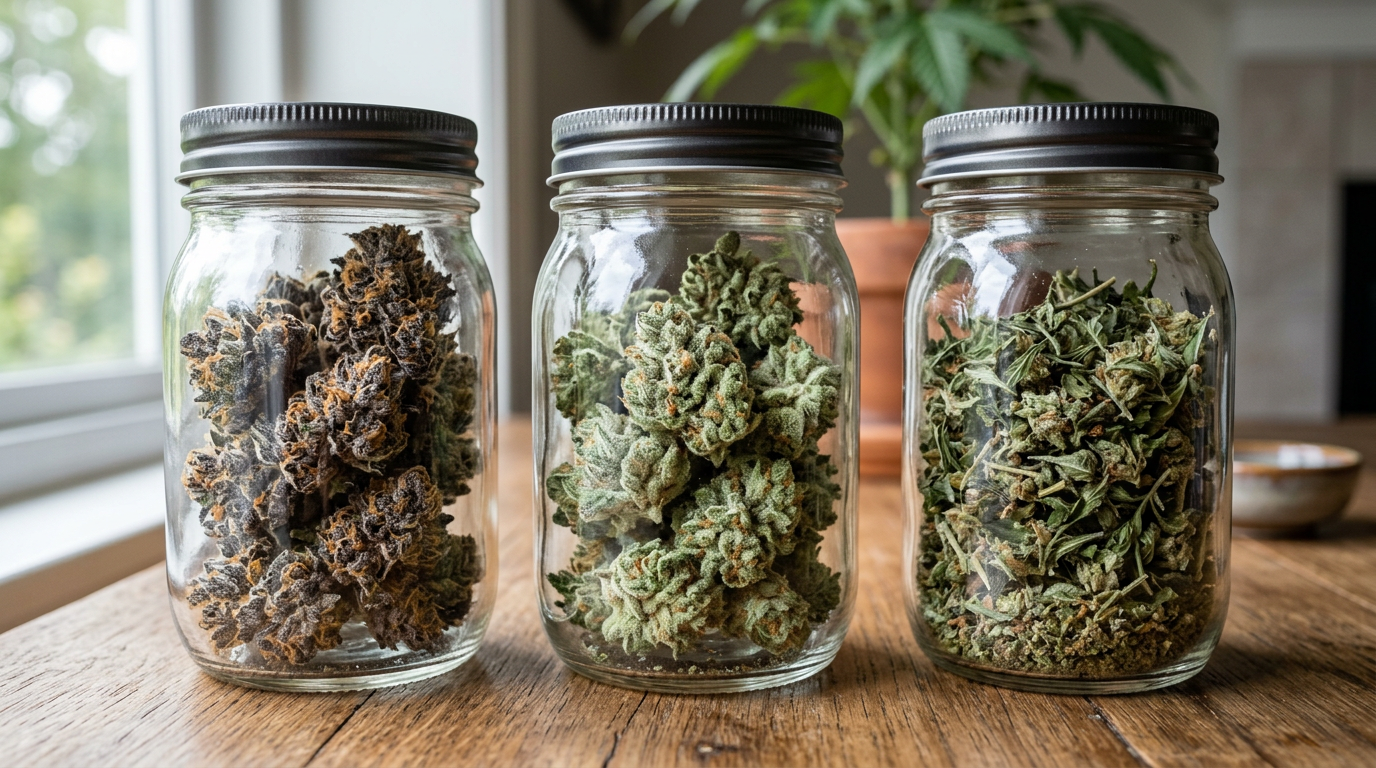
Proper storage is what separates a topical that lasts a year from one that goes rancid in a month. Anhydrous preparations — balms and salves that contain no water — are the most shelf-stable. Stored in sealed tins or glass jars, away from heat and direct light, a well-made cannabis balm with vitamin E oil added can last six to twelve months without significant degradation. Coconut oil’s natural saturated fat composition makes it particularly resistant to rancidity, which is one more reason I favor it as a topical base.
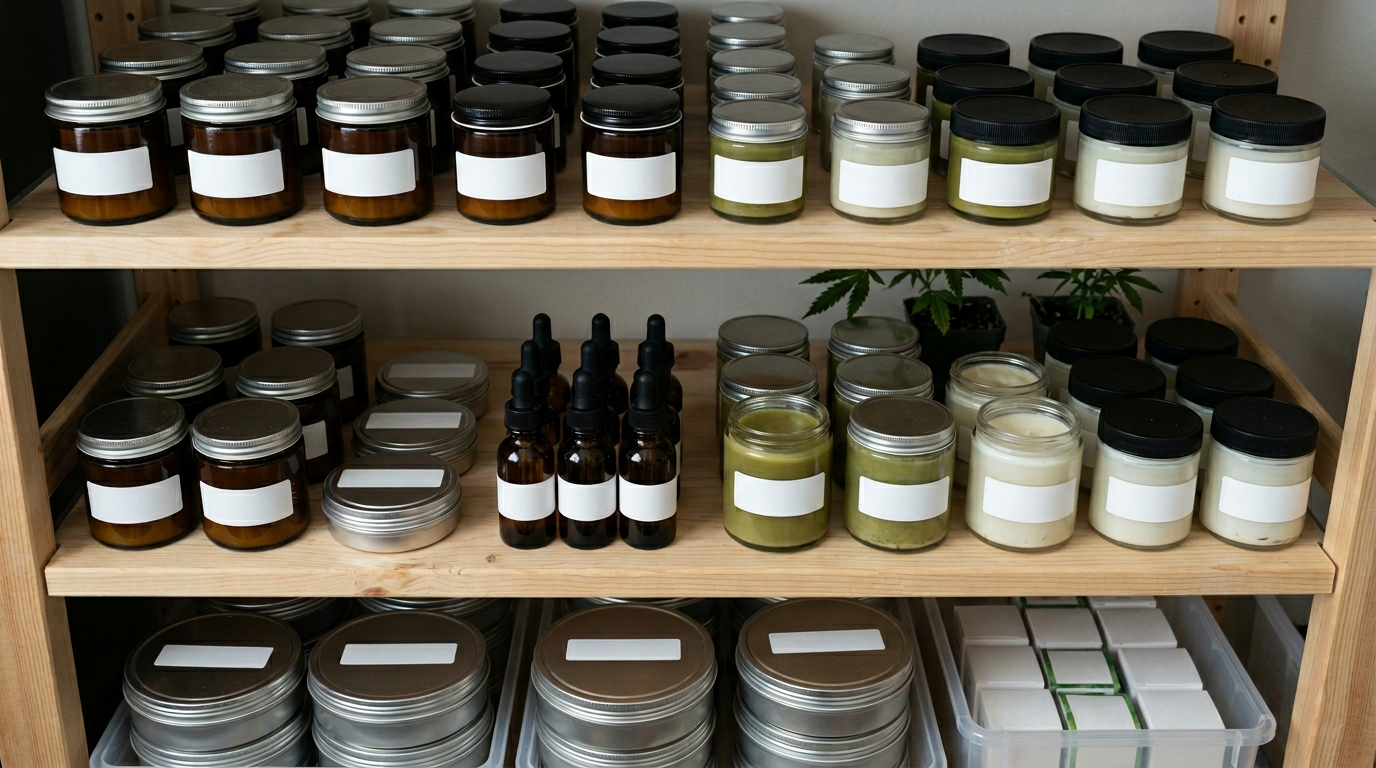
Creams and water-containing preparations are significantly more perishable because water creates an environment where microbial growth is possible. Refrigerate your cannabis skin cream and plan to use it within one to three months. If you notice any change in smell, color, or texture, discard it. This isn’t being overly cautious — it’s basic cosmetic safety.
Before using any new topical preparation on a large area of skin, perform a patch test: apply a small amount to the inside of your wrist or elbow, cover loosely, and wait 24 hours. If you notice redness, itching, or irritation, one of your ingredients is causing a reaction — most commonly an essential oil rather than the cannabis itself. Clove, cinnamon, and citrus essential oils are the most common sensitizers. People with tree nut allergies should exercise caution with shea butter and avocado oil. Cannabis topicals are for external use only and should never be ingested — a fact worth stating clearly, especially if you’re making these as gifts.
Legal considerations vary significantly by state and country. In the United States, cannabis-infused topicals are legal in states with adult-use or medical cannabis programs — including California, Colorado, Oregon, Washington, Michigan, and many others — but remain federally unscheduled as a product category. Hemp-derived CBD topicals are federally legal under the 2018 Farm Bill. If you’re making these in a state where cannabis is not yet legal, hemp-derived CBD oil is a legal and effective alternative for your infused oil base.
Frequently Asked Questions
What is the best oil to infuse with cannabis for topicals?
Coconut oil is the best all-purpose choice for cannabis topical infusions because it is solid at room temperature (which helps balms and salves hold their shape), has a naturally long shelf life due to its high saturated fat content, and is well-tolerated by most skin types. Olive oil is excellent for skin-conditioning preparations and has a longer history in cosmetic use, while avocado oil is ideal for lightweight, fast-absorbing creams and facial preparations. All three effectively bind to cannabinoids, so your choice should be driven by the end product you’re making and your skin’s preferences.
How long do cannabis topicals take to work?
Most people feel relief from cannabis topicals within 10 to 30 minutes of application, though the onset can vary based on how much topical is applied, the thickness of skin in the application area, and individual physiology. Unlike edibles, which require digestion and systemic absorption, topicals work locally through skin-surface cannabinoid receptors — which is why onset is relatively quick and effects stay targeted to the application site.
What does cannabis cream help with?
Cannabis topicals have demonstrated anti-inflammatory, analgesic, anti-itching, and wound-healing properties through their interaction with cannabinoid receptors in the skin. In practical terms, users commonly apply cannabis creams and balms for localized joint pain, muscle soreness, general skin inflammation, dry or irritated skin conditions, and tension headaches (applied to the temples and neck). The targeted nature of topical relief — without systemic effects — makes them particularly appealing for people who want localized support without any psychoactive experience.
Can you eat topical cannabis preparations?
No — cannabis topicals are formulated exclusively for external skin application and should never be eaten. Beyond the obvious issue that beeswax, essential oils, and cosmetic emulsifiers are not food-safe, topicals are not dosed or formulated for ingestion. If you’re looking to make edible cannabis preparations, the process starts with the same decarboxylation step but diverges significantly from there — my cannabutter guide is the right starting point for edible infusions.
How do you make cannabis salve with trim?
Trim and shake are actually ideal for salve-making because you’re extracting cannabinoids from the plant material rather than consuming the flower directly — the flavor and visual quality that matter in smokable cannabis are irrelevant in a topical. Use the same decarboxylation process (240°F for 30–40 minutes) and infusion method described above, simply substituting trim for buds. You may want to use slightly more trim by weight — closer to 10 grams per 1.5 cups of oil — since trim typically has a lower cannabinoid density than trimmed buds. The finished infused oil works identically in any salve recipe.
What is the ideal THC/CBD ratio for pain relief topicals?
A 1:1 THC-to-CBD ratio is widely preferred among experienced topical users for pain relief applications, and this preference is strongly reflected in the DIY cannabis community. CBD brings well-documented anti-inflammatory properties, while THC contributes its own analgesic effects — and the two appear to work synergistically when applied together. For pure skin-care applications without a pain focus, higher CBD ratios or CBD-only preparations are appropriate. For severe or chronic pain, some users prefer THC-dominant preparations, though the research base for topical-specific ratios is still developing.
What essential oils work best in cannabis topicals?
Peppermint oil is my top recommendation for pain and muscle preparations because its menthol content creates an immediate cooling sensation that complements cannabis relief beautifully. Eucalyptus oil is a classic anti-inflammatory addition. Lavender is the most versatile choice — calming, gently analgesic, and universally well-tolerated. Rosemary oil improves circulation and works well in muscle salves. For skin-care focused preparations, frankincense and chamomile are excellent choices for their skin-regenerating and soothing properties. Always add essential oils after removing your mixture from heat to preserve their volatile aromatic compounds.